
What to Cook in a Pressure Cooker: Fast, Flavorful Meals
This post contains affiliate links. As an Amazon Associate, we earn from qualifying purchases.
You cook almost anything in a pressure cooker, but the real answer is in the manual’s fill lines: never over two-thirds full for most foods, and only half-full for beans, grains, and soups. Stick to those limits with at least half a cup of liquid, and you can tackle tough meats, dried legumes, stocks, and even desserts without a clogged vent or a stovetop mess.
That half-full rule for beans isn’t a suggestion. It’s a physical guard against foam. Beans and grains release starches that froth under pressure; exceed the fill line, and that foam climbs into the vent pipe. The safety valve trips, the cooker screams, and your kitchen smells like panic.
What follows is the short list of what a pressure cooker does uniquely well, grounded in the specs from Calphalon, Cuisinart, and Presto manuals. We’ll cover the three non-negotiable rules, the best ingredient categories, and how to avoid the two mistakes that turn a quick meal into a repair job.
Key Takeaways
- Fill to the line, not over. The universal rule is two-thirds full for most foods, half-full for beans, grains, and soups. Overfilling is the fastest way to clog the vent pipe.
- Natural release isn’t optional for beans and grains. Forcing a quick release on legumes or mostly-liquid foods forces boiling liquid and starch foam through the valve. Let the pressure drop on its own.
- Match liquid to cooking time. Use at least 1/2 cup liquid minimum. For cooks longer than 10 minutes, bump it to 2 cups to prevent the pot from boiling dry.
- Tough, connective tissue-heavy meats win. Chuck roast, short ribs, and pork shoulder break down in 45-70 minutes under pressure, not 3-4 hours.
- Store it open. Always invert the lid on the base for storage. Locking it sealed traps moisture and leads to a mildewed gasket.
The Core Pressure Cooker Rule: Fill Lines and Liquid
Every recipe starts here, before you even pick an ingredient. Get the fill volume and liquid wrong, and nothing cooks right. The cooker either won’t pressurize or it will over-pressurize and vent violently.
For most foods, do not fill the pressure cooker over two-thirds full. When cooking foods that expand, like rice, dried beans, peas, lentils, or soups, do not fill over half full. Overfilling may cause a risk of clogging the vent pipe and developing excess pressure.
That blockquote is a near-verbatim merge from the Calphalon and Presto manuals. It’s the single most important instruction because it’s about physics, not preference. Steam needs headspace to circulate and build pressure. Fill the pot to the brim, and you have nowhere for that energy to go.
The liquid requirement is just as specific. You must have at least 1/2 cup of liquid in the pot to generate steam. For any cooking time over 10 minutes, the Calphalon manual recommends at least 2 cups of liquid. This isn’t about broth flavor; it’s about preventing the heating element or burner from focusing all its energy on a tiny amount of water, which can evaporate before the cook is done and damage the pot.
| Food Type | Max Fill Line | Minimum Liquid | What Happens If You Ignore It |
|---|---|---|---|
| Meats, Poultry, Stews | 2/3 Full | 1/2 cup | Prevents pressure build-up; food stews instead of pressure-cooks. |
| Beans, Lentils, Dry Grains | 1/2 Full | 2 cups (for long cooks) | Froth climbs into vent pipe, triggers safety valve, creates a starchy mess. |
| Soups, Broths | 1/2 Full | Covers ingredients | Boil-over risk; pressure won’t stabilize, leading to constant steam venting. |
| Cakes, Cheesecakes (Pot-in-Pot) | N/A (Use trivet) | 1-2 cups in base | No steam is generated; the heating element cycles on dry and can warp the base. |
The basic mechanics of pressure cooking rely on this sealed steam environment. Without the right liquid-to-space ratio, the system fails.
Common mistake: Thinking “a little over” the fill line is fine with soup. By the time legumes and grains absorb liquid and expand, that “little over” is a lot over. The safety release will sound before the timer goes off.
What to Cook in a Pressure Cooker: The Champion Categories
A pressure cooker isn’t a magic box for every food. It excels where traditional methods are slow or prone to error. Its superpower is defeating the two things that make cooking tedious: tough texture and long wait times.
Tough Cuts of Meat
This is where a pressure cooker pays for itself in one use. Cuts rich in collagen and connective tissue, chuck roast, pork shoulder, beef short ribs, lamb shanks, need time and moisture to break down into tenderness. A braise takes 3 to 4 hours. Under high pressure (5 to 7 psi), it takes 45 to 70 minutes.
The process is simple: brown the meat for flavor, add a cup or two of liquid (broth, wine, water), and set the timer. The pressurized steam drives heat and moisture into the meat fibers faster, dissolving collagen into gelatin. You get fall-apart tenderness in a fraction of the time. A pressure cooker turns a weekend project into a weeknight dinner.
Beans, Legumes, and Grains (No Soak Required)
Dried beans are the classic pressure cooker win. From rock-hard to perfectly creamy in under 30 minutes, without an overnight soak. But this category has the strictest rules because of the frothing risk mentioned earlier.
- Never fill over half-full. This is non-negotiable from every manufacturer’s manual.
- Always use the natural release method. Let the pressure drop on its own for at least 10-15 minutes. A quick release on a pot full of starchy bean liquid forces that foam through the valve.
- Add a tablespoon of oil. The Presto manual recommends this to minimize foam formation.
The timeline is hard to beat. Unsoaked black beans take 20-25 minutes. Chickpeas for hummus are done in 35-40. Steel-cut oats take 3 minutes under pressure, not 30 on the stovetop. The why food cooks faster in a pressure cooker is the elevated boiling point, but the consistency benefit is just as big.
Stocks, Broths, and Bone Broth
Extracting flavor and nutrients from bones and vegetable scraps is a slow simmering process, until you use pressure. A rich chicken or beef stock that takes 12-24 hours on the stove achieves deep flavor in just 2 to 3 hours under pressure.
The sealed environment forces the liquid into the porous bone structure, pulling out marrow, collagen, and minerals efficiently. You use less water to start (because almost none evaporates), so your final product is more concentrated. For a clear stock, avoid a rolling boil; keep the pressure at a steady, gentle rock.
Pot-in-Pot (PIP) Desserts and Sides
This is the advanced move that expands your cooker’s repertoire. By placing a separate heat-proof dish (like a Pyrex bowl) on a trivet above water in the main pot, you can steam delicate foods without them sitting in liquid.
- Cheesecake: Comes out incredibly smooth and crack-free.
- Flan or Crème Caramel: The gentle, moist heat is ideal for custards.
- Steamed Rice or Grains: Perfectly separate grains every time, and it frees up a burner.
The rule here is to add 1 to 2 cups of water to the main pot to generate steam, and ensure your PIP dish is not sealed tight, cover it with foil, not a lid, to let pressure equalize.
The “Don’t Bother” List: What a Pressure Cooker Does Poorly
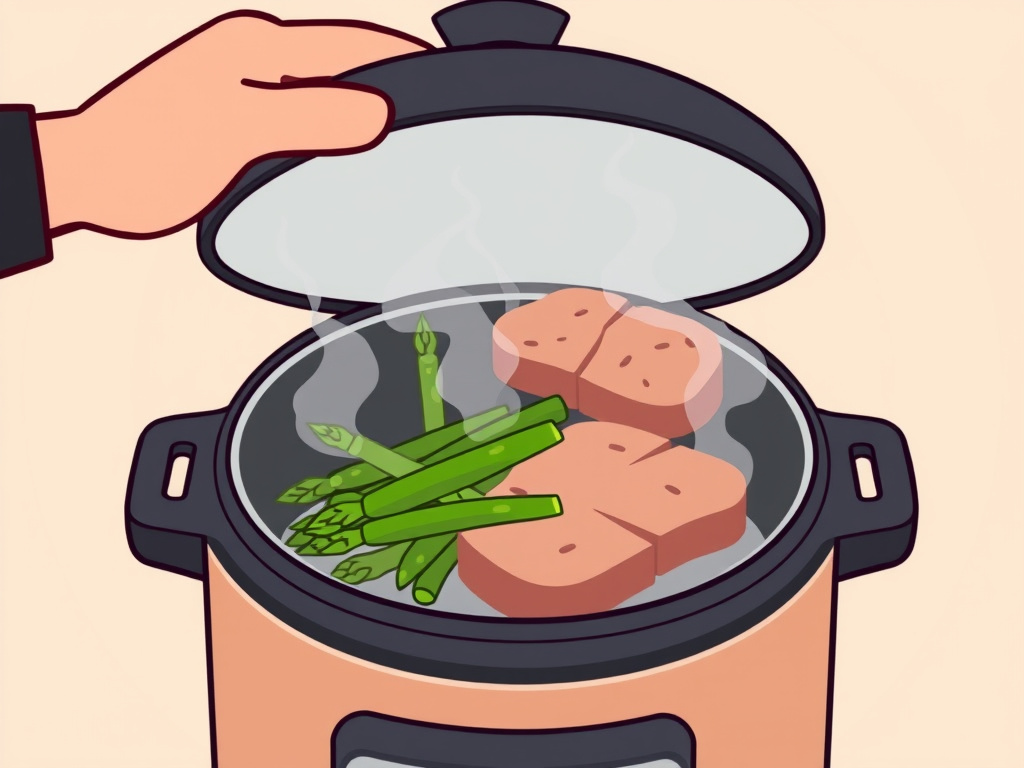
An honest guide tells you what to skip. A pressure cooker’s environment of high heat and steam is destructive to some textures.
- Delicate, Quick-Cooking Vegetables: Asparagus, zucchini, peas, and leafy greens will turn to mush in the time it takes the cooker to come to pressure. Use the steam function with a zero-minute cook time if your model has it, or just use a steamer basket on the stove.
- Seared Steaks or Crispy Skin: You cannot get a dry, Maillard-reaction crust in a sealed, humid environment. It’s a wet cooking method. Cook the steak traditionally.
- Pasta: It’s easy to overcook into a gummy blob. If you must, use the al dente time from the box and do a quick release immediately.
- Cream-Based Sauces: Dairy can separate and curdle under high pressure. Add cream after pressure cooking, during the simmer phase.
These are better suited for a slow cooker for long braises without searing, or straight to your skillet.
Pressure Release Methods: Natural vs. Quick
Your cooking time ends when the timer beeps, but the food isn’t ready until the pressure is gone. There are two ways to release that pressure, and picking the wrong one ruins your meal.
Natural Release (NR): You turn off the heat and walk away. The pressure drops slowly as the pot cools, over 10 to 30 minutes. Use this for beans, grains, soups, stews, and large cuts of meat. Why? It allows the food to stop cooking gently. A quick release on a pot of beans causes a violent, internal boil that can burst skins and create a foamy geyser at the valve. The natural release method for pressure cookers is a safety step for starchy foods.
Quick Release (QR): You manually move the steam release valve to vent all pressure immediately. It’s loud and sends a jet of steam out. Use this for vegetables, seafood, and foods you don’t want to overcook. It halts the cooking process instantly.
Where this goes sideways: Quick-releasing a pot of lentil soup. The sudden pressure drop makes the boiling point inside the pot plummet. The superheated liquid flashes into steam violently, carrying bits of lentil and starch straight up into the valve. You’ll spend longer cleaning the hood than you did cooking.
Your First Pressure Cooker Recipe: A Template
Forget complex recipes. Use this template with any tough cut of meat to get a feel for the process.
- Brown: Set your cooker to “Sauté” or use a stovetop burner. Pat dry and season a 3-pound chuck roast. Brown it well on all sides in a little oil. Remove.
- Deglaze: Add 1 cup of red wine, broth, or water to the pot. Scrape up the browned bits.
- Build: Place the meat back in. Add aromatics (onion, garlic, carrots). Ensure total volume is below the two-thirds fill line.
- Cook: Secure the lid. Set to High Pressure for 70 minutes.
- Release: Let the pressure release naturally for 15 minutes, then quick-release any remaining pressure.
- Reduce: Remove the meat. Use the “Sauté” function to simmer the cooking liquid until it thickens into a sauce.
You now have pot roast in about 90 minutes total. The technique scales to almost any braise.
Frequently Asked Questions
Can you put frozen meat in a pressure cooker?
Yes, but you must adjust. Cooking frozen chicken or other frozen meat requires adding 50% more cooking time to account for the time needed to thaw the center under pressure. Always ensure there is enough liquid (at least 1 cup) to generate ample steam for the longer come-to-pressure time.
Does an Instant Pot work the same?
Yes. An Instant Pot is a brand of electric pressure cooker. All the rules about fill lines, liquid minimums, and release methods apply identically. The main difference is convenience, it heats and regulates pressure electronically instead of on a stovetop burner.
Why does my pressure cooker need water if it’s not boiling?
It is boiling, just at a higher temperature. The sealed lid traps steam, which raises the internal pressure. This raises the boiling point of water from 212°F (100°C) to about 250°F (121°C). That hotter steam is what cooks food faster. Without the minimum liquid, you can’t generate steam. This water requirement is the core of the appliance’s function.
How do I convert a regular recipe for a pressure cooker?
Rough guide is to cut the cooking time by about two-thirds. More importantly, reduce the liquid by about half, since almost none evaporates. Always check that the total volume of food and liquid respects the fill lines. When in doubt, consult a Washington State SNAP-Ed pressure cooking guide for reliable, tested conversion principles.
Is it safe to leave a pressure cooker unattended?
Modern pressure cookers, especially electric ones like the Instant Pot, have multiple safety locks and valves that prevent over-pressurization. It is generally safe to leave them during the pressurized cooking cycle. However, you should never leave a stovetop model during the initial heat-up phase before it reaches pressure, as the heat needs to be adjusted down. Always be present for the pressure release step.
Before You Go
A pressure cooker’s job is to solve specific problems: tough meat, long bean cooks, and extracting stock flavor. Its limits are just as clear, don’t ask it to sear or handle delicate greens.
Start with a chuck roast or a pound of black beans. Respect the half-full line for the beans and the two-thirds line for the roast. Add your liquid, lock the lid, and let high pressure do the work. When the timer stops, let the pressure come down naturally. That sequence, straight from the manufacturer’s manual, works every time.
The appliance isn’t intimidating. Skipping the manual is.
